
 Soo many great Deals for You, Baby!!
(And I get a wee something from every sale through me, so thank you so much for buying through me! Your little pal, Ailsa! xoxo!!)
French Toast - the easy way! : ) Yum, do you love French Toast? It's soo super easy to make, is really fast, and you'll probably make enough to pop some slices of French Toast right in the freezer, then you can just heat them up in the toaster for a quick breakfast, another day - fun, right? And soo delicious, it's crazy!
I just got a new griddle - it's a Rival from Walmart - think I got it for about $18 - what a good deal, right? Yahoo! I used to always have a nice big griddle in the house, but I guess that had slipped my mind when we were buying everything for this place... happens when you move a bit, like we sometimes do...
Anyway, I had been feeling guilty about just throwing out all these loaves of bread - you know, you buy a loaf of bread, you're sure that someone will have a sandwich, or some toast, or something, then there are lots of other yummy things for breakfast and lunch, and before you know it, you're throwing out another loaf of bread. Well, French Toast to the rescue! Never toss out another loaf of bread, again! lol!
So here's how easy:
Ingredients
loaf of bread, sliced
3 eggs (add more eggs if you have a lot of bread - this made 8 slices)
Splash of Milk - mmm, a 1/4 cup, maybe? lol! I measure in mah' head! haha!
Splash of Vanilla - probably 1 teaspoon... I just pour it in! : )
Butter or Margarine for the pan...
You can add cinnamon, if you like, or let people add cinnamon later, if they like...)
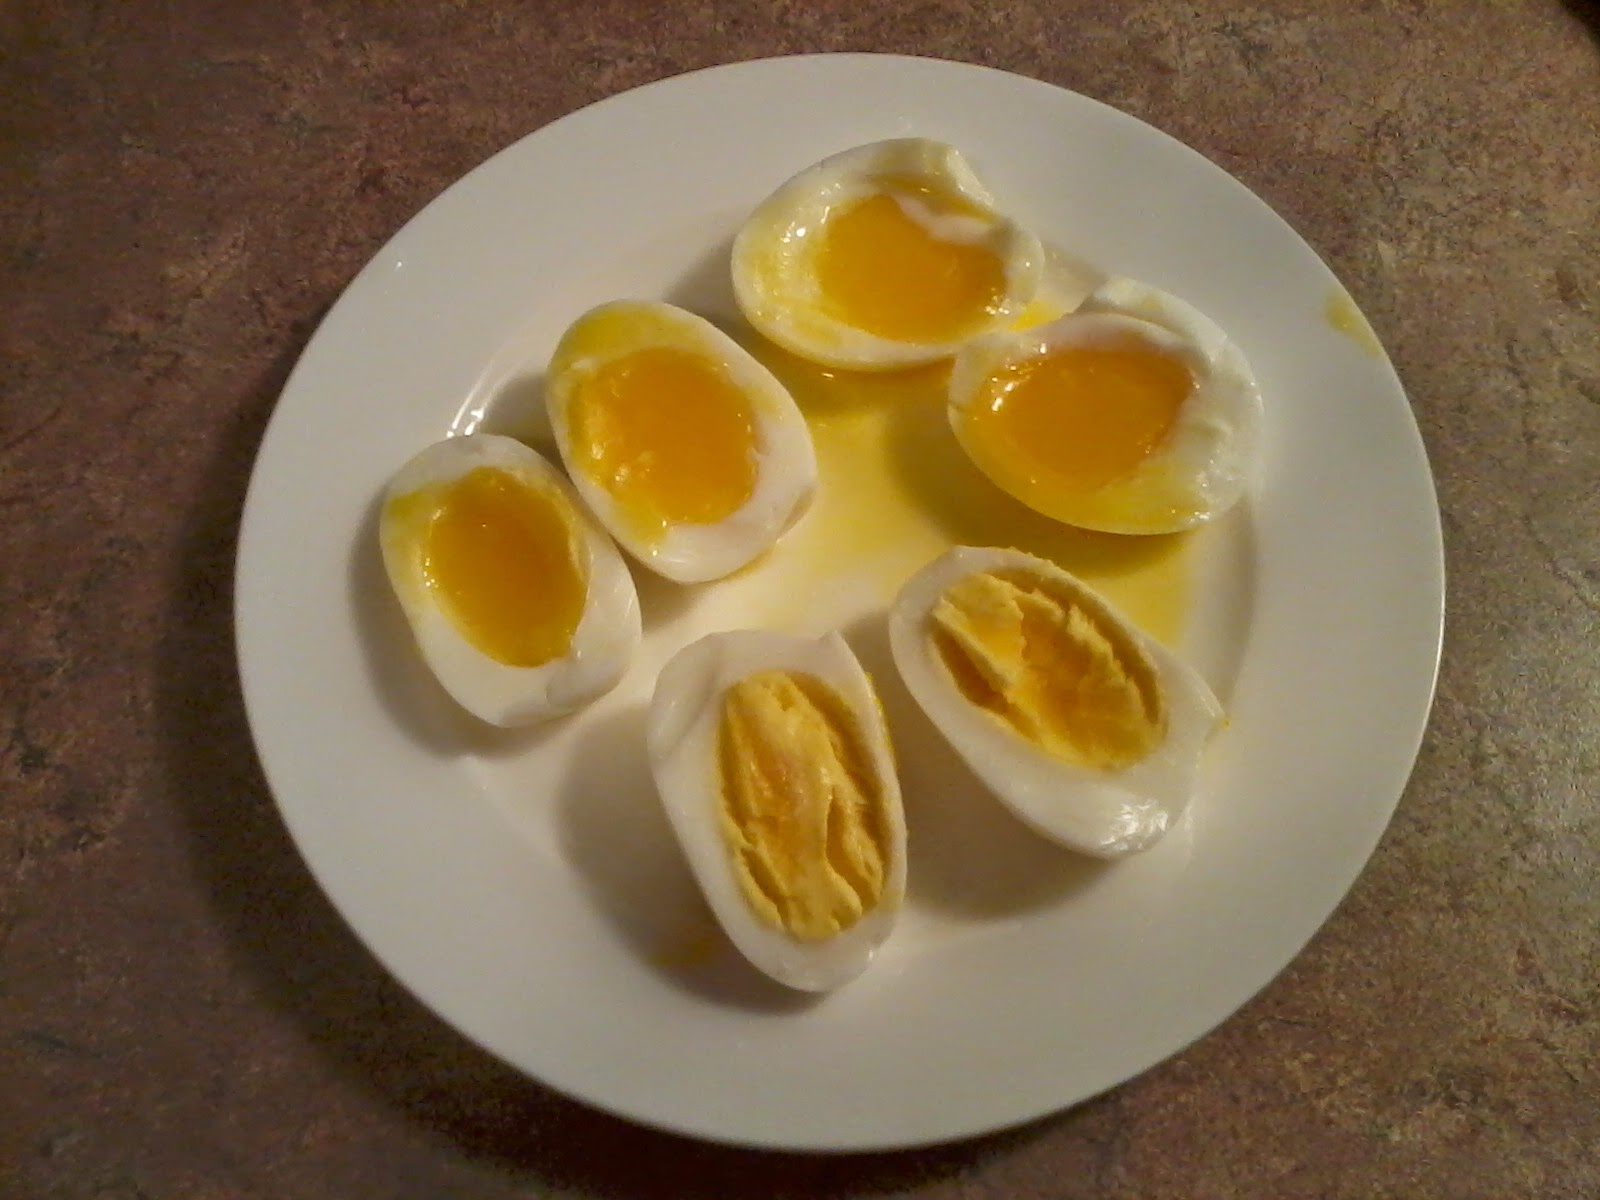
See how fast and easy to make this French Toast? I use a pie plate, because it's so easy to dunk the bread in : )
Just mix the egg, milk and vanilla with a fork, 'til it's nice and creamy, everything's mixed together... and you can heat up your grill at the same time - I put mine at 6, to start, since this is a new griddle, and I wasn't sure how hot '6' would be - turned out, too 6 was too hot, so I turned it back to 4. Much better.
If you know me, and I hope you do (!) lol! , you'll know that I love butter. You can use margarine, too, will both be delicious, but I just happen to have a fair bit o' butter around the house, so I use butter...
Put a little pat of butter in the center of the skillet or griddle - I just use a knife, and go quickly, but use your plastic spatula to spread the butter or margarine around, to cover the whole area.
Dip the bread, one slice at a time, into the egg mixture, both sides, make sure it's well covered in the mixture, then place it right on the griddle. When you get a few of them on the griddle, move them gently to make sure they don't stick...
Yum! Iz you' hungry, yet?? hahaha! Me, too! : )
They will cook very quickly - the French Toast looks a'licious, right? Yum! Such a tasty and healthy breakfast, too - and the kids will love it! By the time you get your last piece of French Toast on the griddle, it'll be time to flip all the rest of the pieces. You just want them to be nice and brown - you'll know! You'll laudably say, 'Yum'! hahahaha!
Some people like fluffy French Toast, but I really, really love when the French Toast is squished down - I'm not a fan o' da fluffy - I do the same thing with pancakes, squish them down - lol! I like them really crispy...yum!
If you, too, like your French Toast crispy, just take your spatula and squish the whole slice right down, and you can turn it one more time, press down with the spatula, again, to make it extra-crispy : )
If you like your French Toast fluffy on the inside, no need to squish the bread down, just flip the pieces of bread over - deeelish!
Get Free Recipes and Coupons
See how super-easy it is to make French Toast? Better than the restaurants, too, because it won't be icky and limp...yick, who wants that? Fresh and lovely is the way to go : )
Of course, I cover mine in maple syrup - I'm Canadian, I think we're required by law to love Maple Syrup - hahahahaha! Noo, I kid, we just love Maple Syrup, naturally! lol! I used to love taking my own kids, and my 'school kids' (I'm a teacher) to the Sugar Shack when they are collecting Maple sugar, and making it right there on the spot, right out in the trees - is so much fun, if you ever get a chance to go and get fresh Maple Syrup, for sure take the family, you'll all love it, and usually there's a horse drawn cart that goes around, so you can see the syrup come out of the the trees - everyone loves to see that, is so cool - thanks, Nature, for the delicious treat!

Aunt Jemima is our favorite Maple Syrup - yum, juust right. Only the Original, we can add our own butter! lol! My son, Aidan, likes his French Toast with Cinnamon (makes me want to make a stripper joke, here, but that's massively inappropriate, and how easy would it be to have a stripper, Cinnamon, come over for breakfast, anyway? My guess is she sleeps in... lol! Noo, that's silly...!)
Okay, so if you like cinnamon, the spice, not the stripper (!), you can add it in with the egg mixture, and cinnamon is excellent for managing your blood sugar (not just all the sugar on your plate - hahaha!), and is generally very good to add cinnamon to your diet... or serve the cinnamon on the side...
And you can use whatever bread you happen to have sitting around, waiting to be eaten... so now you never have to throw away your unused bread, again - yahoo! And you can just pop the extra pieces of French Bread in a baggie, put them in the freezer, they'll be so nice and easy to pop in the toaster for another meal : )
Happy Eating!
Ailsa : )
More Yummy Recipes : )Hope you're having a great time, whatever time it is for you!!
Ailsa : )
This is so cool - let's say you've now been binge watching your fave shows, and you STILL have 4 more seasons left of your brand new-to-you show, soo you don't want to get up off the couch, but, also, you know you should probably get you' some groceries?
Problem - Solution! lol!
Check and see if your area is covered by either VONS or Safeway... they cover some of the same areas, and some different areas - does that make sense? lol!
I loove this Delivery Service for Groceries and whatever you might need, right to your door, just in general, but what a great idea in bad weather, no more stooopid traffic, or if you're not feeling up to going out to the store, or you just don't feeeel like going out to the store...or if you're like me, and get so caught up in whatever you're working on, and don't want to stop just 'for food' - haha! And no need for Taxis, if you need to take a cab to the grocery store...that's a huge savings, right there, right?
Wow, Grocery Delivery Service - that's fantastico!! Yippee!! Hello, Future - you look great! : )


I think this is such an amazing new service for your groceries - and anything you ever need from the grocery store - if you've ever had a time when you had a tiny baby, or you're super-busy (same thing - hahaha! All the New Moms will be laughing, now - lol!)..but if you're busy at work, or busy at home, or traffic, or you're busy binge-watching your favorite shows - hahahahaha! This might be the new wave of the future, right? Ordering your groceries online?
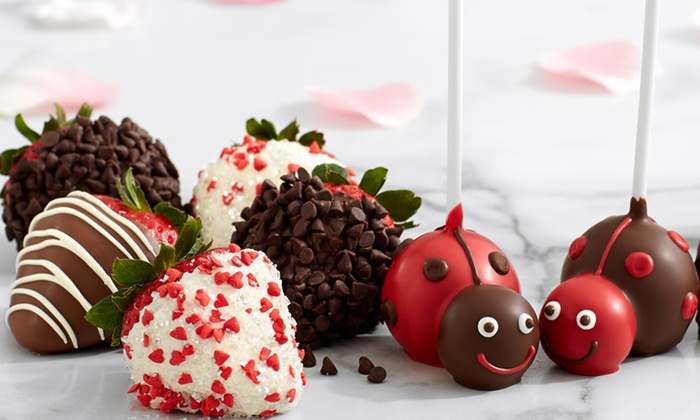
And I would imagine you would save a lot of money, since you would just buy what you actually need... might really work for dieting, too, since, well, if we're in the store, and be 'we', I mean 'me'...anyway, let's say I've got my grocery list, then I'm at the store, and I think, you know what, I'll just nick down the Candy Aisle, see if Chocolate is on sale (see how much I like Sale Chocolate - hahaha! Is it tastier, or just less expensive?? We'll never know! It's all gone, now - hahaha!)
Not that you couldn't just 'browse' for that, anyway... right? Me thinkin', now, o' course, where is the Sale Chocolate, online?? hahaha! But let's say you're you, and not me, and you have a LOT more self control than maybe ME do... so you order all the things you really wanted, and not just a whole cart full o' Wunderbars, on sale... hahahaha! Wouldn't THAT be fun - just a cart-full of Sale Chocolate?? haha! Okay, clearly, me needs a treat! lol! : ) #SaleChocolate! Ha!
Save up to 30% on gifts & chocolate and more at Godiva.com!


 Alcohol Infused Cake at Wicked Good Cupcakes! Featuring Maple Bacon Whiskey, Amaretto Chocolate Hazelnut and Chocolate Chambord!


Cadbury Gifts has FULL Size Chocolate Footballs - ah'yum! #football #soccer


There you go! Some delicious Sale Chocolate for you, right there - lol! Enjoy!
Ha! I like this picture of Julie Chen,... I'll just leave it in here - lol! : )
I DID love when Julie Chen introduced
Thursday Night Football, on
Big Brother - haha! That sorta made me laugh -
otay, otay, it totally made me laugh - is there a huuge amount of cross-ever, there? Maaay-be! Well, at the very least, everyone who watches Big Brother will either watch The NFL, or will live with someone who loooves to watch da NFL, or they KNOW someone who looves the NFL - so, good job, Julie Chen! lol!
Plus,
doesn't Julie Chen look amazing? Wow! Good job on your Whole Life, Julie Chen!
: ) @juliechen
Soo, I just was wondering if I could BAKE the French Toast, right?
Yes, that's right, me trying for an even easier way to makes da French Toast - lol!
See everything in the picture - including my cup of tea, which I always have, somewhere nearby...lol!
Oh, there's the Parchment Paper - why not try that, then no clean up, either?? lol!
Is there no end to my laziness?? hahahahaha! (No, doesn't look like it - haha!)
So you just make the usual eggs, milk and vanilla, whisk it with a fork, dunk in each piece of bread...
Then place them on the pans.. oven to 350, the usual...
Then I popped them in the oven...
And I flipped them, once... the Parchment Paper gives them a little wrinkle - cute!
You could just grease the trays, if you wanted to go that route... : )
And quickly made Beans 'n Toast (yum!), since I needed something substantial and fast...
Beans 'n Toast is a Scottish delicacy - hahaha! Yum! Me luv! lol!
I left the French Toast in the oven for at least 30 - 45 minutes, I think - really, I started doing something else, (oh, yeah, had the Beans and Toast, and watched Ellen - lol!), so, maybe it was an hour? lol!
Anyway, just look at them when you think of it, flip them once, then you can have them, or pop them in the fridge or freezer when they've cooled a bit, have them ready to just pop in the toaster, for a busier morning - or any other time you're in the mood for some delicious French Toast! : )

An, Voila - it DID work... haven't tried it, yet, will serve it to my son, in a wee bit, and I'll try some, too... not sure I'll do this, again - will let you know how delicious it is, compared to our usual way.. no butter or margarine, though, when you're grilling the French Toast, the normal way... and, frankly, that's prolly a huuge part of the delicious flavor... we'll know soon enough, and I'll let you know how it tastes : )
So, I had the Baked French toast, this morning, and it was exactly the same as the normal French Toast... so, really, it's a toss up - now we know it's good, one way or another, and, frankly, I'm glad I tried it, so at least I didn't waste all that bred - it was on sale for $1.00 a loaf, and me no could resist buying 3 loaves - lol! And it
IS really handy to just have French Toast in the Fridge or Freezer, ready to pop in the Toaster, for a fast and tasty breakfast, any time...
I think the chances are really high that I'll just make the French Toast my usual way, on the grill, the griddle (what do they call that in America - hahahaha!) - but the house smelled great, too - yum, so, Win-Win-Win, right? Deelish, healthy, smells great!
And that probably saved a fair bit o' da Calories, too, or Fat Grams, if you're looking into that... although, me luvs mah' French Toast with a wee bit o' butter on each bite, and a LOT o' delicious Maple Syrup (I'm Canadian, I think it's a requirement of Citizenship, no? lol!), sooo, you know, it's all a balance... I think healthy is healthy, and there's nothing wrong with your food being Healthy
AND delicious, right?
Balance, Baby! (I balance the syrup with the butter.. TaaDaa!! A balanced Canadian Breakfast - where da bacon at? hahaha!)
To Great Breakfast Food!! Ailsa : )
Special Deals for You, Baby!! I love a great sale!
I'm just gonna add in my #Pancake Trick, right here - lol!
I'm jus' gonna put all the pics on here, quickly, since I'm on my way to go and make the pancakes, in honor of #NationalPancakeDay - lol! Thanks, Twitter, for letting me know what day it is - haha!
And Add Vanilla to your Waffles mix, too - will be so delicious! #NationalWaffleDay, Baby!
I came up with a super easy way to make the pancake mix, and I wish I had thought of this, years ago, so, on the off-chance you haven't thought of this, already, too, here we go... prepare to be amazed! haha! (Or, maybe, a little dazzled by the ease? These pancakes are so eaaasy! lol!)
Put your grill at 5, or the highest temperature - you want the griddle nice and hot, then put the butter or margarine on the grill, pour the pancake mix in nice little rows - or whatever size of pancakes you like : )
And with the Bisquick, it's just 2 cups of Bisquick, 1 cup of milk (or water, I'm guessing), and 2 eggs, but I add a little more milk, since that'll make for a lighter pancake, and sometimes I'll pop in 3 eggs, will make it a little healthier, and then I add 2 tsp. of Vanilla - yum!
If you're making your Pancakes from scratch (no box! lol!):
1 1/2 Cups Flour
1 Tablespoon Baking Powder
1 Tbsp Sugar
1 Teaspoon Salt
Mix ahead of time, make into little baggies, if you like : )
Add:
1 1/4 Cup Milk (you could prolly use water!)
2 or 3 Eggs, your choice!
2 oz. melted butter or Margarine, use the rest of the margarine for
the grill, will make your pancakes crispy & delicious! Yum!
By the time you've poured your pancakes, chances are high that you can flip them, right away...
But, the general rule for making pancakes is to watch for the bubbles, and when the bubbles are all over the pancake, flip it : )
I think you can do whatever you like, because you can always let it cook on both sides, squish it down with your spatula, if you like your pancakes flat and crispy, and don't squish them if you like your pancakes all fluffy on the inside : )
But if your pancakes aren't cooked completely with 2 flips, just keep flipping them 'til they look
juuust right to you! Enjoy! : )
Okay, so when you make your pancake mix (just use the Bisquick box - is so fast and easy, always perfect, then add a teaspoon of Vanilla - yum!), either use a great big 4 cup measuring cup (you can buy them at the Dollar Store, now - yippee!!), or mix your pancake mix in a bowl, then use the measuring cup to pour the pancakes...
Mixing the pancake mix right in the extra-large Measuring Cup will change your life (just a little, but every little life hack helps, right? lol!)
Then you just put the margarine on the grill to melt, move that around with your spatula, then just go ahead and pour on the pancake batter.... sooo much faster and easier than the old fashioned way, with the big ladle, right? I can't wait for you to try it, too! : )
I always have an extra batch, since I like to use up all the pancake batter (who doesn't? lol!), but, this past year, my lovely Dad told me about these pastry treats he had seen on a show, The Marilyn Show, in Canada, and so, in my attempt to make them for my Mum and Dad, I happened to figure out how to sift the Icing Sugar on the treats -
All these years of making fancy treats, and I've never just sifted the Icing Sugar right onto the pastries, but it's brilliant, light and tasty, and so now, when we have the extra pancakes, I just take the sieve, pour in about a half a cup of Icing Sugar, and you just tap on the side of the sieve, lightly, you'll have this gorgeous wee treat, and it's soo fast! (See the theme, here? Tasty, Pretty, and, err.... Fast? haha!) (And Easy! hahaha!)
See that delicious Icing Sugar Sprinkle? So pretty! Lacey, if you will - lol!
Just pop them in the fridge, eat them like cookies - or, 'cakes' - pan-cakes - haha!
I press down on the pancakes, because I like them flat, not fluffy, but this is personal preference, here, so, do your own thing, baby!
Presto-Chango! Squish!! I love the pancakes when they're crispy - so good!
A teaspoon of Vanilla will mean you don't need as much Maple Syrup - or, maybe you do?? haha! Whatevs, all food is good food, in moderation... and Maple Syrup has all sorts of nutritional value - don't let the sugar police get in your head, too much - a little of everything is totally okay : )
One plate of pancakes for now, and a giant plate of pancakes, for later! Yum!
When the pancakes have cooled a bit, pop them in a large baggie, freeze them for a quick meal, another day - you can just pop them in the toaster, no bother - easy peasy!
: )
OR, you can dust the extra pancakes with the Icing Sugar, and have them as a wee schnack, later - Double Yum!
Okay, now I'm starving - better go make those pancakes!
Happy Eating! Ailsa : )